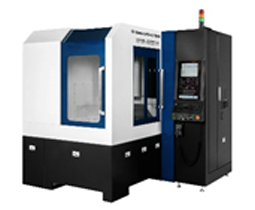
UVM-450D(H)
High Precision Machining Center UVM Machine
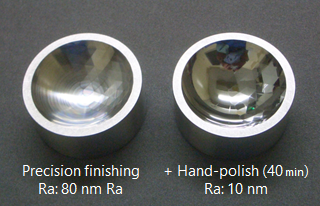
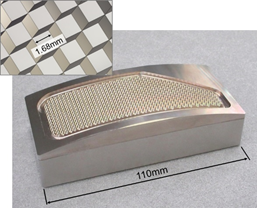
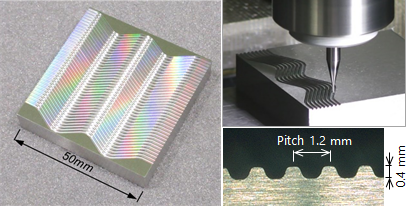
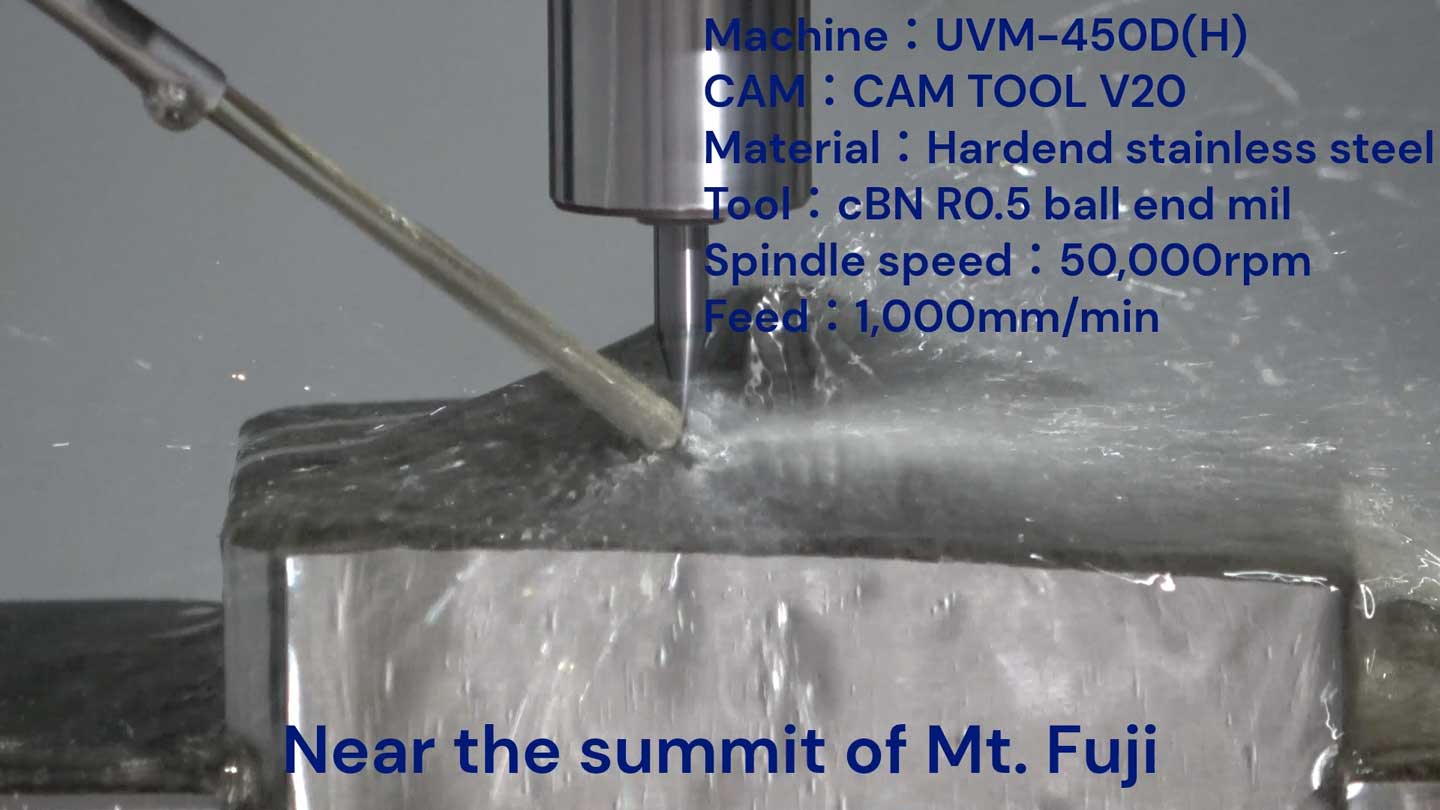
UVM Series has been developed with the concept of high speed and high quality machining, providing High Precision Aerostatic Bearing Spindle. This is a high precision machine and one of application targets is a precision mold.
X Stroke - US Standard (in)
Y Stroke - US Standard (in)
Table Size (WxL)- US Standard (in)
Max Load - US Standard (lbs)
| X Stroke inch(mm) | 23.0 (585) |
|---|---|
| Y Stroke inch(mm) | 20.7 (525) |
| Z Stroke inch(mm) | 9.8 (250) |
| Spindle (rpm) | 60,000 |
| TABLE size inch(mm) width x length | 19.7 x 19.7 (500 x 500) |
| Max. load lbs (kg) | 220 (100) |
| Control | FANUC 30i-B |
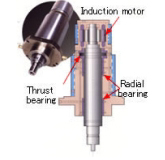
High speed aerostatic bearing spindle
Spindle speed: 60000 min-1
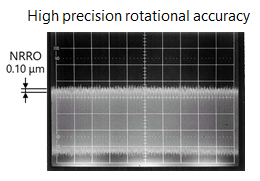
NRRO(*): 0.10 μm
TIR: 1 μm
(*) Measured with the method of Single Point Asynchronous Error Motion
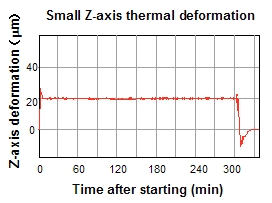
High speed and low heat generation
- Improvement of machining time
- Reducing in the types of tools and the processes (small diameter tool use)
- Low spindle thermal displacement (See the figure at right)
Virtually unlimited life of bearings
- Availability of high speed, continuous machining
- Reduction in the maintenance cost
Low level vibration and noise
- Realization high quality machined surface
- Improvement of the working environment
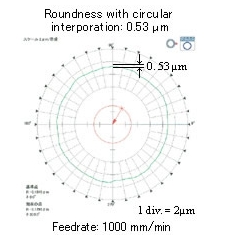
High precision contouring
High quality surface machined with high speed feedrate is realized, providing linear motor driving system for X, Y and Z axis.
- High quality and smooth machining around quadrant switching area realized, due to minimized lost motion.
- High quality flat surface realized, due to eliminating factors, for instance, influenced by a ball screw driving system.
Linear motor drive High precision positioning and smooth feed
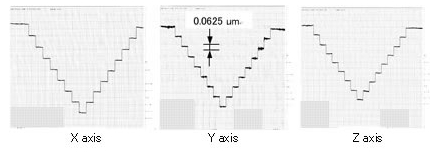
Reliable step feed 0.1 μm realized, providing 0.01 μm of programming resolution for X, Y and Z of linear 3 axes.
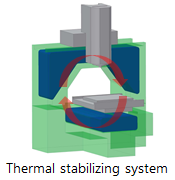
Efficient cooling system
UVM-450D(H), UVM-700E(5AD)
Thermal stabilizing system allows high-precision machining for long hours.
Circulates a temperature-controlled liquid through the structure.
FormEye
Tool profile measurement device: FORM EYE
Measurement function: Tool length measuring
Min. tool blade diameter: φ0.05 mm.
The extended function linked with UVM-TSA:
Tool diameter measuring, Measurement for spindle displacement, Measurement for tool shape.
The tool diameters where tool profile measurement is possible are 0.1 mm to 3 mm.
UVM-TSA
Integrated support software for UVM (UVM-TSA)
It is the software for to expand or setting automatic tool length measurement device (Dyna Line, FormEye) and touch sensor that is optional accessories.
Extended functions:
① Automatic tool length measurement device
Measurement for Tool length, diameter, tool shape, spindle displacement, dynamic run-out retry function
Note: This function reclamps the tool when dynamic run-out was detected.
② Touch sensor
Coordinate setting, shape measurement(circle, quadrilateral, groove, aspheric surface One-touch, multi-point)
Note: Depending on the workpiece shape, measurement may not be possible.
③ Tool management
Tool lifetime management, Tool Information management
Optional Features
Download
2.95 mB
